Managing Your Students
Add students one at a time or straight from your phone contacts, then find any of them in seconds.
Managing Your Students in the app, step by step
Filmed in the live app, at your own pace. Use the player controls to pause, replay or go full screen.
Good to know
- Tap the call button next to a student to ring them without leaving the app.
- Archiving keeps a student's history and statistics intact. Only delete a student if you never want the record back.
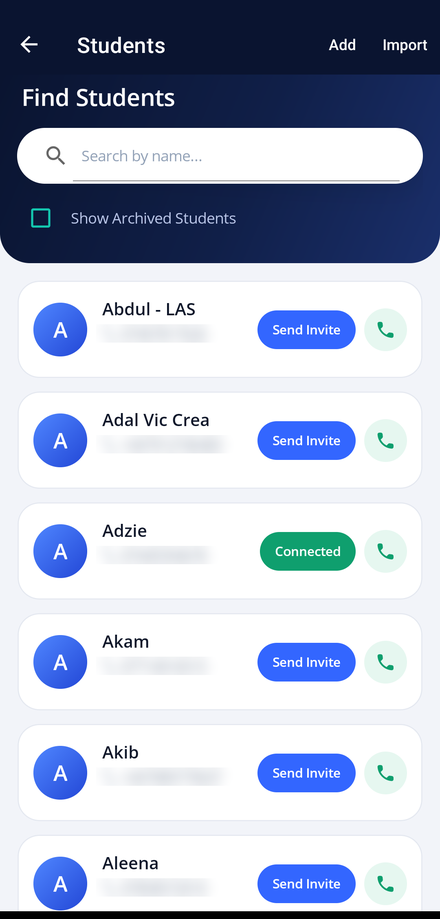
The Students screen is your address book of learners. It holds everyone you teach, along with the tools to add, import, search and archive them.
-
Open Students
Tap My Students on your dashboard to see the full list.
-
Add a student
Tap Add and fill in the new student's name, phone number and any notes, then save.
-
Import from your contacts
Tap Import to pull names and numbers straight from your phone's contact list instead of typing them in.
-
Find someone quickly
Type into the Find Students box to filter the list as you type.
-
Connect a student to the app
Tap Send Invite beside a student to send their invitation. Once they install the free student app and enter your invite code, they can see their diary, progress and messages.
-
Tidy up finished learners
Turn on Show Archived Students to see everyone, then archive or restore a learner from their record.